SQLKover update: I love this trick! I use it daily, no kidding (except in weekends). Want to see it in live action? You can watch my MSSQLTips.com webcast on-demand where I demonstrate this trick. Start watching at around minute 38.
Lately I have been using more and more the awesomeness of the Alt-button in SQL Server Management Studio (SSMS). What do I mean with this? While holding the Alt-button on your keyboard, you can select a block of text instead of lines of text.
Note that this is not an exclusive feature, you can do this in some other applications as well (like Word and Notepad++). An alternative is holding Alt+Shift and moving the cursor with the arrow keys. This can be useful for example when working on a laptop without a mouse present and you don’t really trust yourself holding Alt, the select button and moving the touchpad at the same time. This alternative doesn’t work in every application though. In Word this keyboard shortcut is used to move the current paragraph.
Anyway, what makes selecting blocks of code so magic and awesome? Because I can for example create a SQL update statement for a dimension using a staging table super quickly. Allow me to illustrate.
Suppose I want to create an update statement to update the Employee dimension of the AdventureWorks database. The source data is located in a staging table with almost the exact schema of the target table. Typically this staging table is populated with update data coming from an incremental load SSIS package. Using a staging table and an update statement in an Execute SQL Task allows us to get rid of the OLE DB Command, which issues updates row by row in SSIS. Which we do not want. Anyway, I digress. Let’s assume the staging table has the following schema:
USE [AdventureWorksDW2012]
GO

CREATE TABLE [dbo].[Upd_DimEmployee](
    [EmployeeKey] [int] NOT NULL,
    [SalesTerritoryKey] [int] NULL,
    [FirstName] [nvarchar](50) NOT NULL,
    [LastName] [nvarchar](50) NOT NULL,
    [MiddleName] [nvarchar](50) NULL,
    [NameStyle] [bit] NOT NULL,
    [Title] [nvarchar](50) NULL,
    [HireDate] [date] NULL,
    [BirthDate] [date] NULL,
    [LoginID] [nvarchar](256) NULL,
    [EmailAddress] [nvarchar](50) NULL,
    [Phone] [nvarchar](25) NULL,
    [MaritalStatus] [nchar](1) NULL,
    [EmergencyContactName] [nvarchar](50) NULL,
    [EmergencyContactPhone] [nvarchar](25) NULL,
    [SalariedFlag] [bit] NULL,
    [Gender] [nchar](1) NULL,
    [PayFrequency] [tinyint] NULL,
    [BaseRate] [money] NULL,
    [VacationHours] [smallint] NULL,
    [SickLeaveHours] [smallint] NULL,
    [CurrentFlag] [bit] NOT NULL,
    [SalesPersonFlag] [bit] NOT NULL,
    [DepartmentName] [nvarchar](50) NULL,
    [StartDate] [date] NULL,
    [EndDate] [date] NULL,
    [Status] [nvarchar](50) NULL,
    [EmployeePhoto] [varbinary](max) NULL);
This update table has all the to-be-updated columns of the Employee dimension and the surrogate key, but not the business key (since it won’t change anyway). The surrogate key does not have the IDENTITY property, as it will be retrieved from the Employee dimension with a Lookup component in the SSIS package.
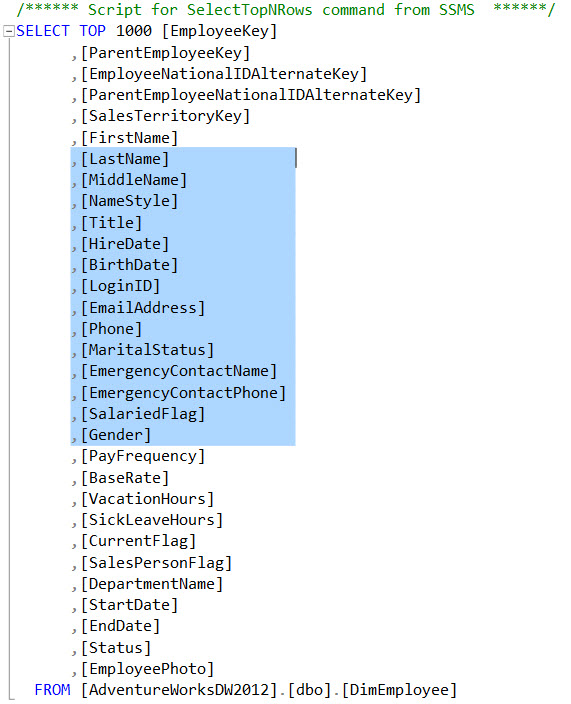
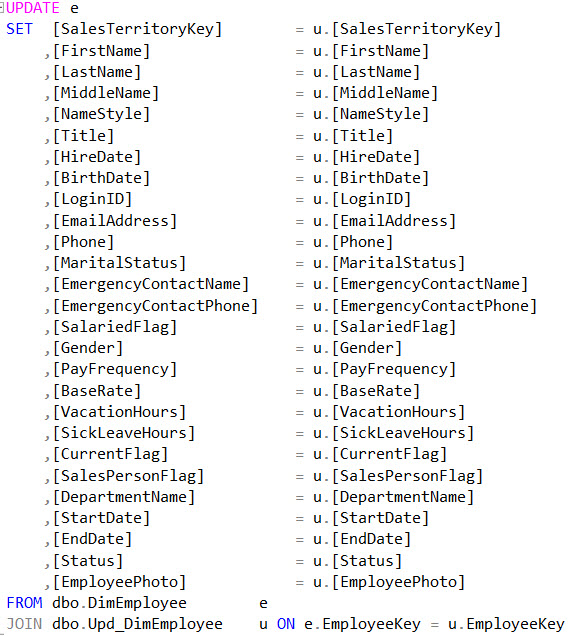
OK, now let’s create the update statement. We start with the list of update-able columns from the dimension, the UPDATE clause and the FROM and JOIN clauses.
Thanks to the surrogate key EmployeeKey we can easily join the Employee dimension and its staging table. First select a line after the columns while holding the Alt button.
This is easy with the mouse and you don’t even need a cursor position to start from. You can select literally every block you want. If you want to do this with the keyboard only, you need to tab to the position you want and then start selecting.
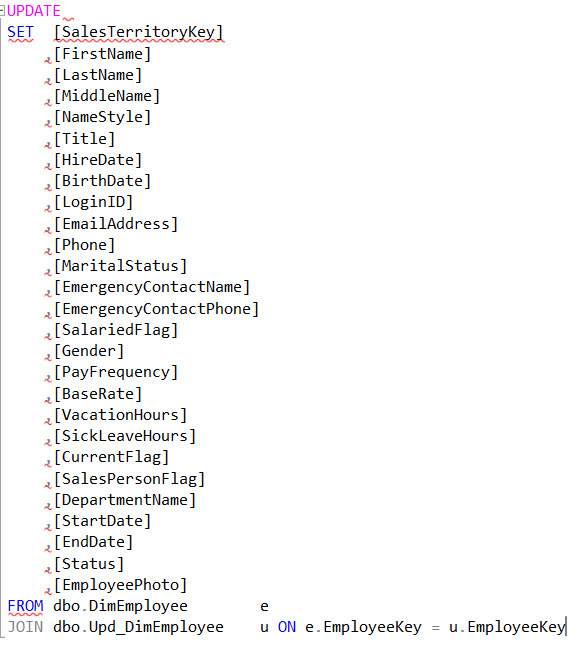
And now comes the awesome part. With the single line still selected, you can start typing at all the lines at once.

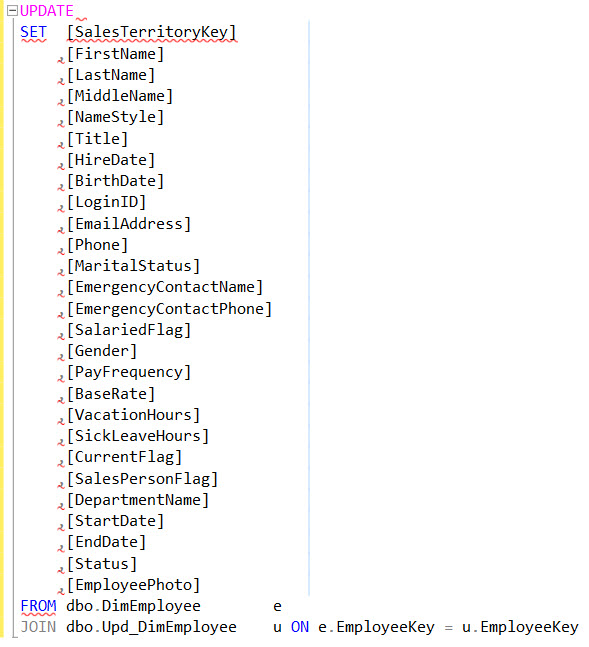
Great isn’t it? Now select all of the columns with the Alt button and copy them.
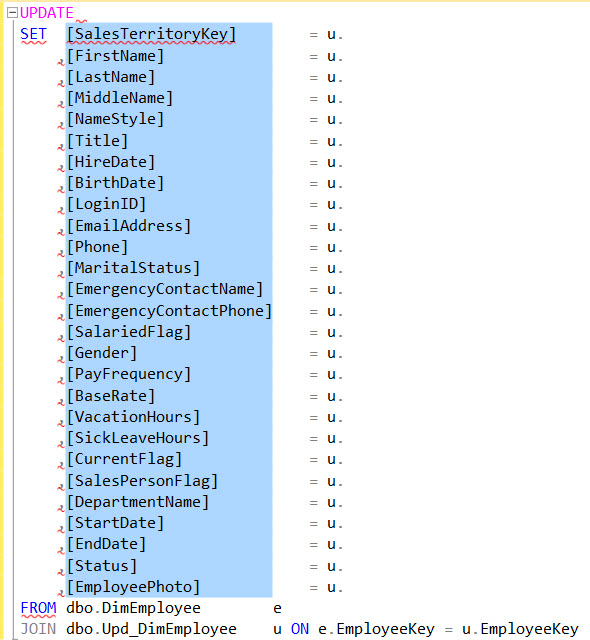
Move your cursor to the first line, right after “= u.” and simply paste the columns.
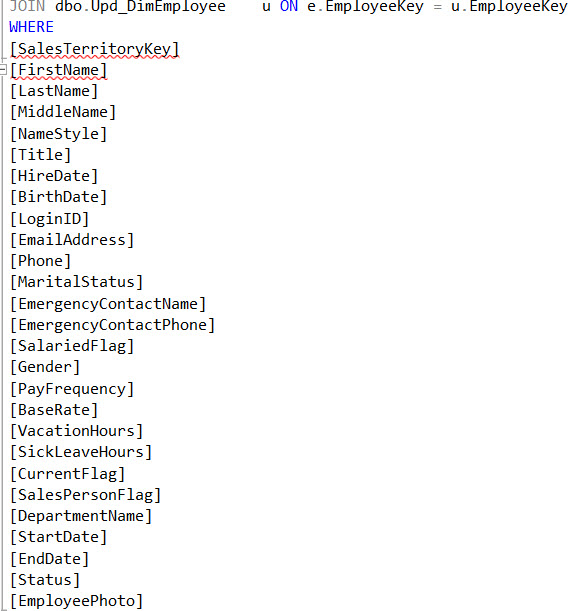
That was created pretty fast, right? A lot faster than typing everything, even with Intellisense. Of course, we want an efficient update statement, so we’ll add a WHERE clause with the same techniques that will check if anything has changed at all.
Add the WHERE clause and paste the list of columns again.
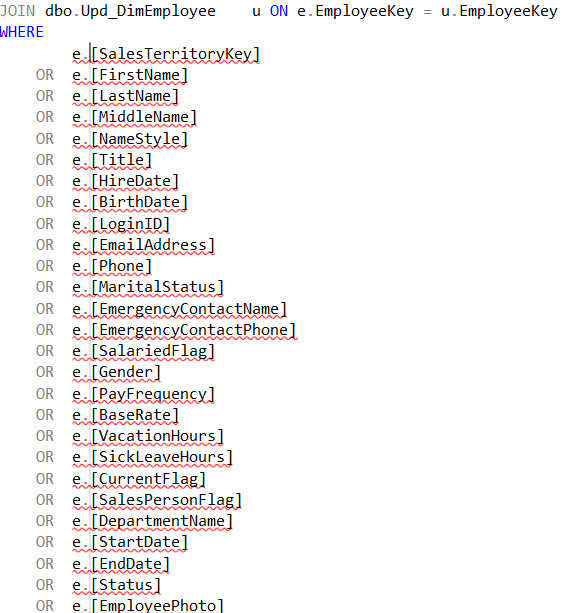
Move the column list to the right and add the keyword OR and the table alias before every line (except the first) with the type-on-every-line trick.
Now select a line after the columns and add inequality operator and the other table alias.
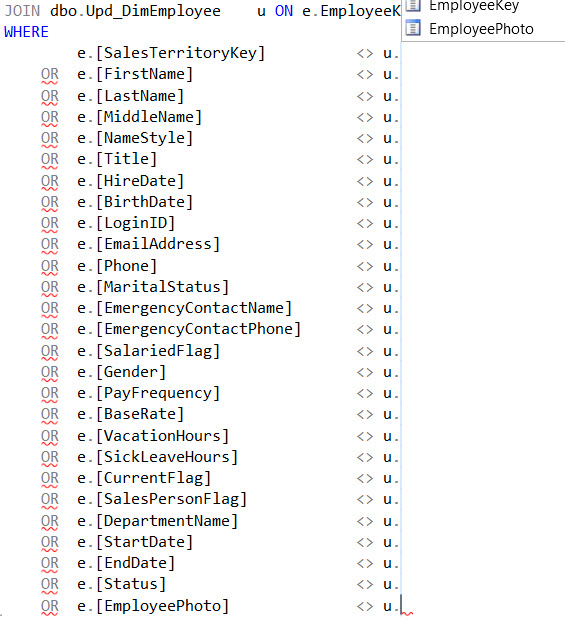
Simply paste the column list again at the end.
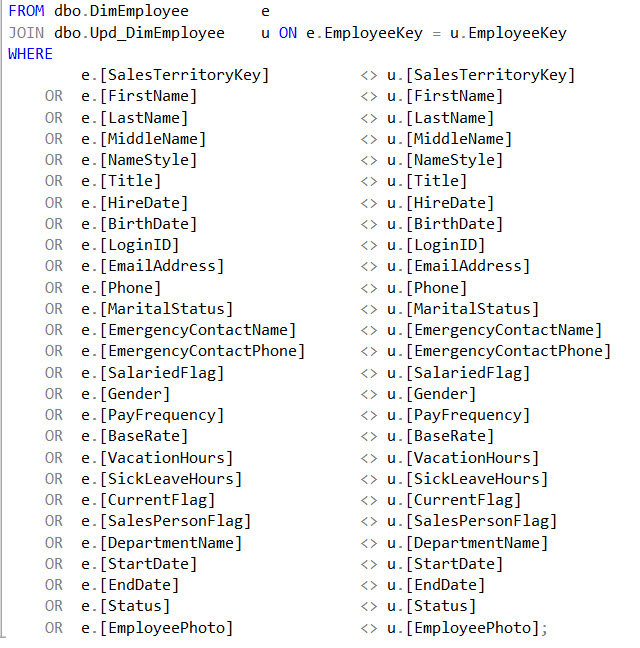
Don’t forget the semicolon at the end! To really top it off, we should include ISNULL functions everywhere to account for NULL values, but I’ll leave that as an exercise for the reader ![]()
------------------------------------------------
Do you like this blog post? You can thank me by buying me a beer 🙂
Informative article, exactly what I needed.