UPDATE 1: the layout seems to have been updated, but at the time of writing (Feb 2026), you can still revert back to the old layout which is consistent with the screenshots
UPDATE 2: going to the app centre from your exact online app might not work when you’re using inprivate browsing
To get data out of the REST API of Exact Online, we first need to authenticate ourselves. With APIs, typically tokens are used: a long string of symbols that will serve as a secret. You pass a token to an API, which will check if the token is valid and if it grants you access. In the case of the Exact Online, you have two types of tokens:
- access token – You send this token to the API to authenticate yourself. Typically such a token has a limited lifetime. In the case of Exact Online, this is 10 minutes which is ridiculously short.
- refresh token – With this token, you can contact the API and ask for a new access token. In the response containing the access token, you also get a new refresh token so you can make a new request once the access token has expired. Normally the refresh token expires once you’ve used it, but I noticed this is not always the case. For Exact Online, the refresh token expires after 30 days.
The Exact Online REST API uses the OAuth 2.0 protocol for authentication. The RFC 6479 explains the different methods to get an “authorization grant”. For a backend application with no user input like Azure Data Factory, you would typically use something like the client credentials method, i.e. where you store the client credentials safely and use those to get the tokens. But Exact Online only supports the authorization code and the implicit method, as documented here. If you have a backend app, you would need to do the process manually first to get the tokens and store them somewhere where you can keep track of them (suggested in the docs here). And this is exactly what we’re going to do. We’re going to store the two tokens in a table in Azure SQL DB (but any kind of secure storage would suffice). Every time we need a new access token, we fetch the refresh token, make the API call and get an access token and a new refresh token. Both are stored again in the database (overwriting previous values). As long as we do this at least once every 30 days, we’re OK (because the refresh tokens have a lifetime of 30 days).
But how do you get your first refresh/access token pair? It’s a bit of a process:
- First you need to register an application in the Exact Online App Centre. If you don’t have an Exact Online account, you can register for a free dev account. Once the app is registered, you get a client id and a client secret.
- You request an authorization code from the API, using your client id and a redirect URI.
- Once you have the code, you make a new call to the API using the code and your client secret to get your first pair of refresh/access tokens.
- We store these in the database, and now we can request access tokens when we want. Well, according to the docs only 9.5 minutes after the access token was requested.
Let’s dive into the details. I’ve worked with the free version of Postman to do the API calls. The Exact Online knowledge base has a nice video that walks you through the process. You can also download a Postman collection, which already contains the various API calls you need to do to get the tokens.
Register Your App
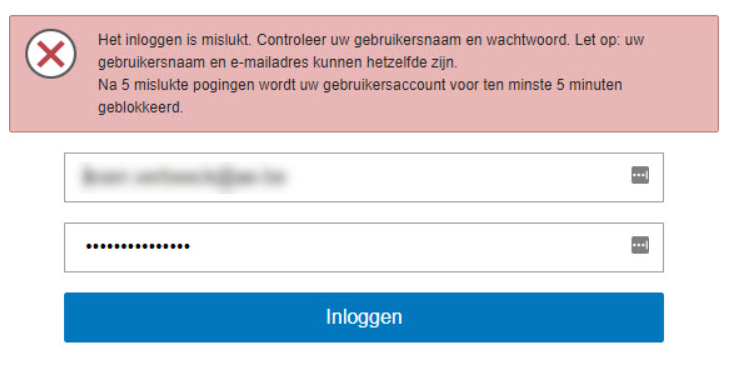
For some reason, it’s possible you cannot login when you directly go to the app center. The error message in the screenshot is in Dutch; it basically says log in is failed and if you try 5 times the account will be blocked for 5 minutes.
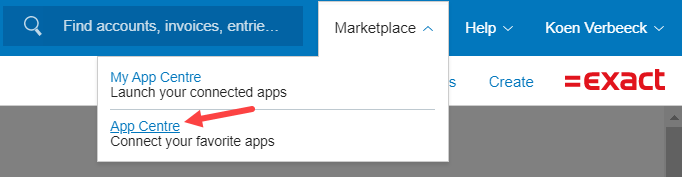
I contacted support and they told me it should work when you go to the app center from within the Exact Online app.
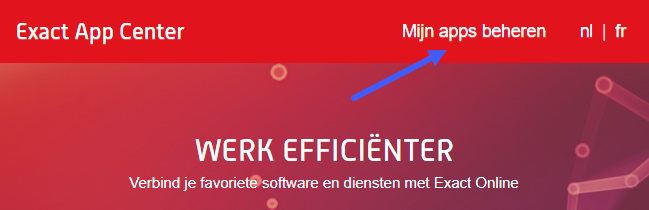
Even though I’ve set my language to English in my profile, the app center stubbornly keeps displaying everything in Dutch. Anyway, at the top you can click on “manage my apps”.
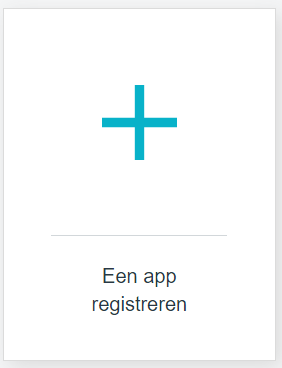
Click on the giant plus icon to add a new app.
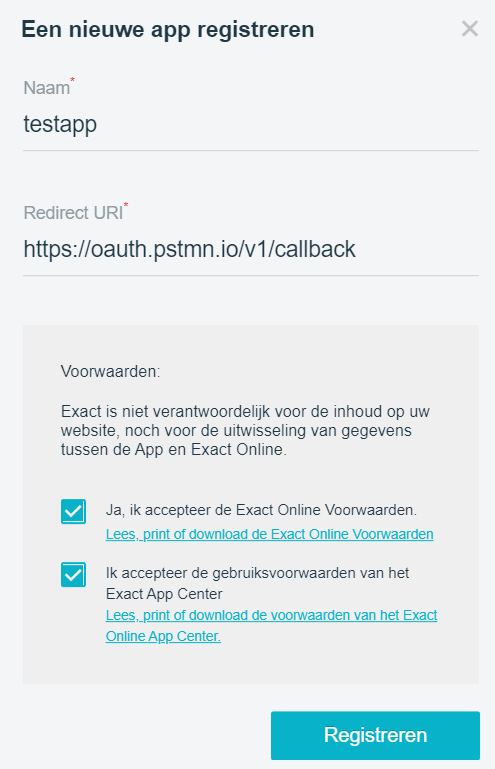
Give your app a name, specify a redirect URI and accept the terms. I’ve used the following Postman redirect URI: https://oauth.pstmn.io/v1/callback. If you’ve watched the Exact Online video, you might’ve noticed they use a different URI. In my case, it didn’t work and after some researching it seems you need to use the URI for the desktop version of Postman, which is the one you see in the screenshot.
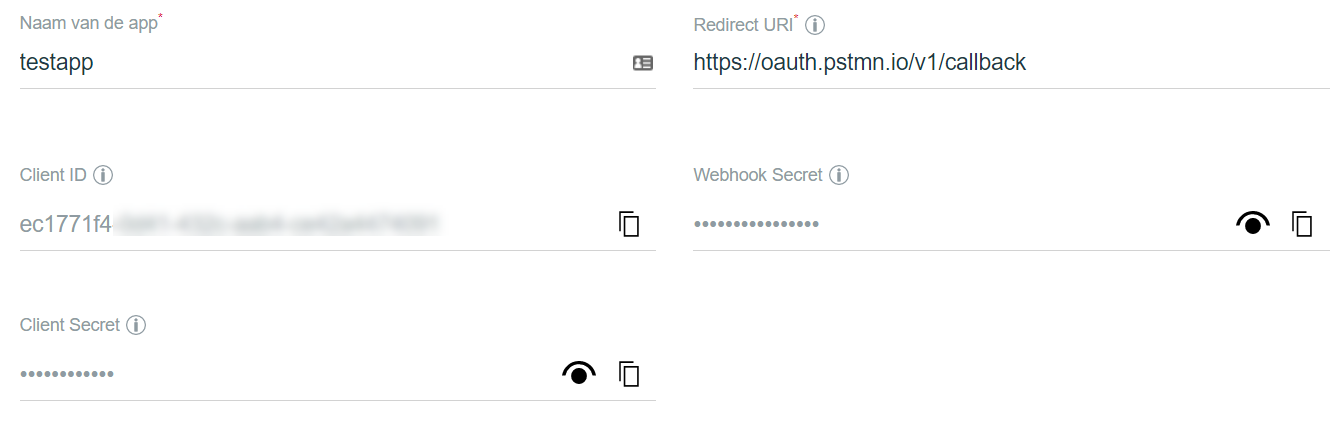
The app is created and you get a client id, a client secret and a webhook secret:
Get the Authorization Code
Open up Postman and import the collection. In the first step, fill in the client ID and the redirect URI:
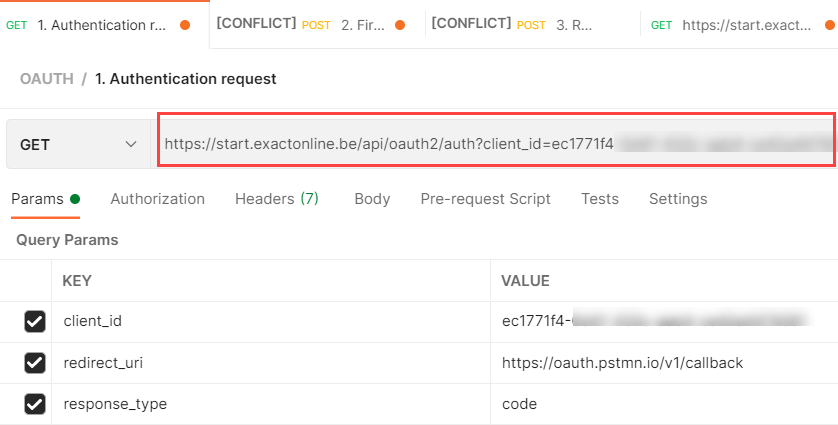
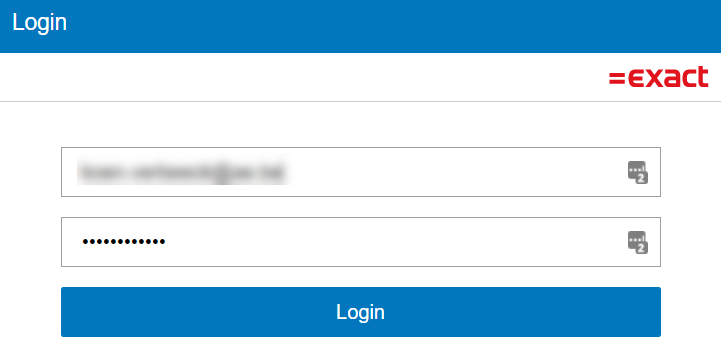
This will generate a URL of the HTTP GET request method. Copy/paste it into a browser. You’ll be asked to provide your login credentials:
Most likely you need to provide a MFA code as well:

Once again you have to accept some terms:
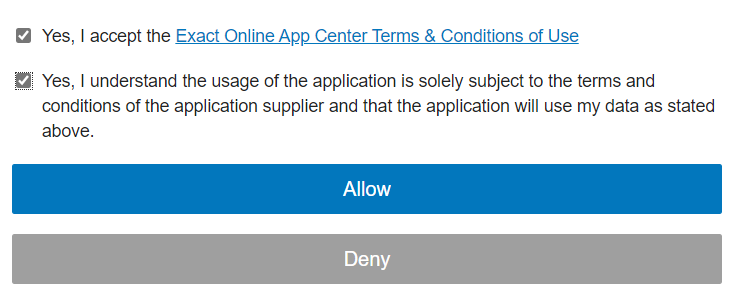
You have now granted the app permissions to access the REST API. The permissions from the user that just logged in are used. If at some point in time you retrieve data from an endpoint and nothing is returned – even though you now there should be data- you need to check the permissions of the user. The following screen is now shown:

You are probably redirected to the Postman app on your desktop, but what interests us more is the URL of this webpage. It contains the authorization code you need to request your first token pair. It looks something like this:
https://oauth.pstmn.io/v1/callback?code=somechars%21verylongstringofdifferentcharacters
It is URL-encoded, which means you need to replace %21 with an exclamation point.
Request your first Token Pair
Copy paste the code from the previous paragraph into the second step in Postman (don’t forget about replacing %21). Also configure the client id, the client secret and the redirect URI.

Using this POST request, you will fetch your first token pair. Most likely it will fail the first time since you were reading this blog post the whole time and the code is actually only valid for 3 minutes! And you can also only use it once.

So get yourself a new code following the steps described above, paste it into Postman (again, don’t forget about %21) and execute the request. In the body of the response, you’ll find your first access token (also called bearer token) and refresh token:
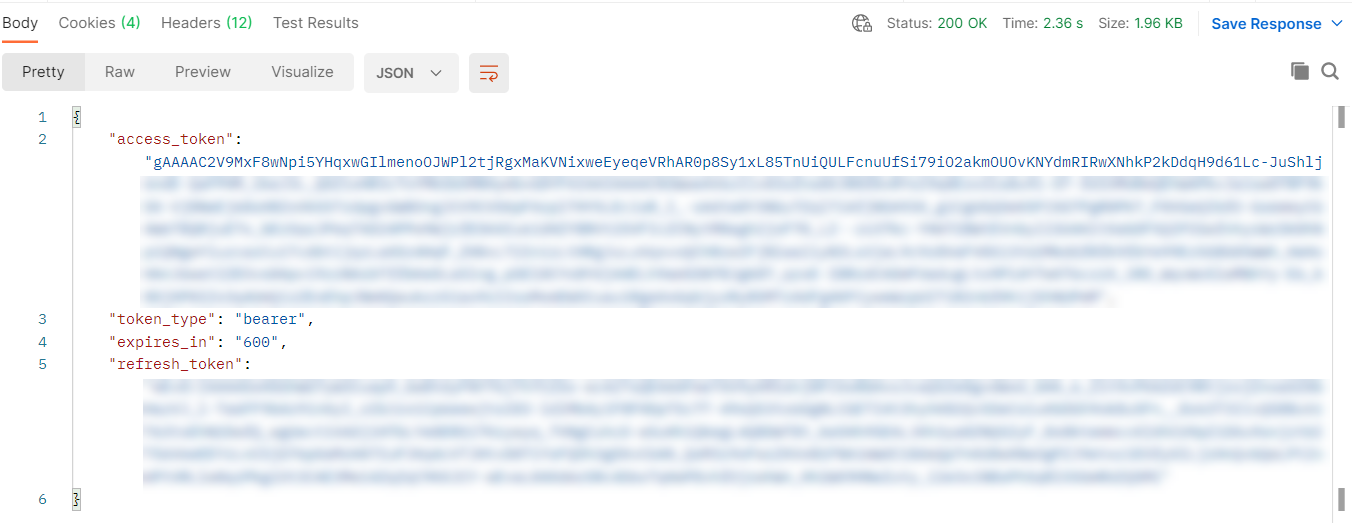
You might want to store these in a database.
Request a new Access Token
Since you now have a refresh token, you can request a new access token (at least within the first 30 days before it expires). Copy paste the refresh token from the previous paragraph and paste it into step 3 of the Postman collection.
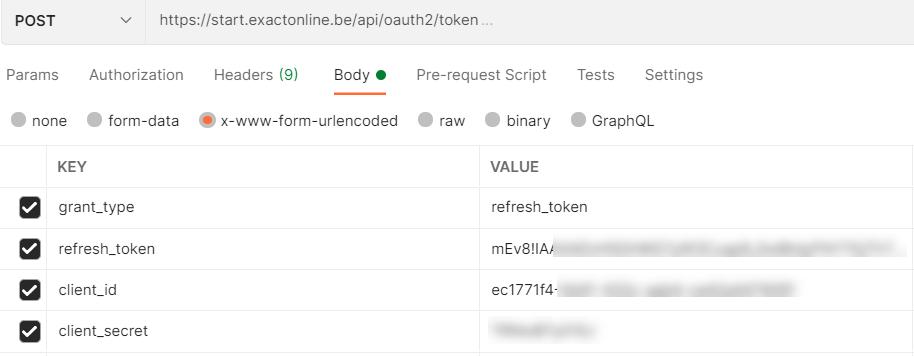
Also fill in the client id and the client secret. There is an error in the Postman collection: the authorization method is set to OAuth 2.0, but you should set it to “Inherit auth from parent”.

Execute the request and a new pair of tokens are returned. This step will be implemented in Azure Data Factory every time we need a new access token. As long as we keep track of the refresh token and run our pipelines at least once every 30 days, it should be fine.
Note:
Exact Online also has an XML API. The process of getting tokens for that API is exactly the same. The XML API is very similar to manually importing/exporting XML from the Exact Online software.
Related Posts
------------------------------------------------
Do you like this blog post? You can thank me by buying me a beer 🙂
Hi i have an issue trying to get the refresh token the first time, I keep getting this message:
{
“error”: “invalid_request”,
“error_description”: “Signed data extraction has failed”
}
I changed the %21 into !, and it did not exceed the timelimit.
Thanks in advance
When I google for this error message, I find forum messages saying it’s a problem at the Exact Online side.
I’ve never encountered it myself. Maybe try later at a different point in time or contact support?
Hi Koen,
Thanks a lot for this clear document. This enables me to execute the Authentication flow.